
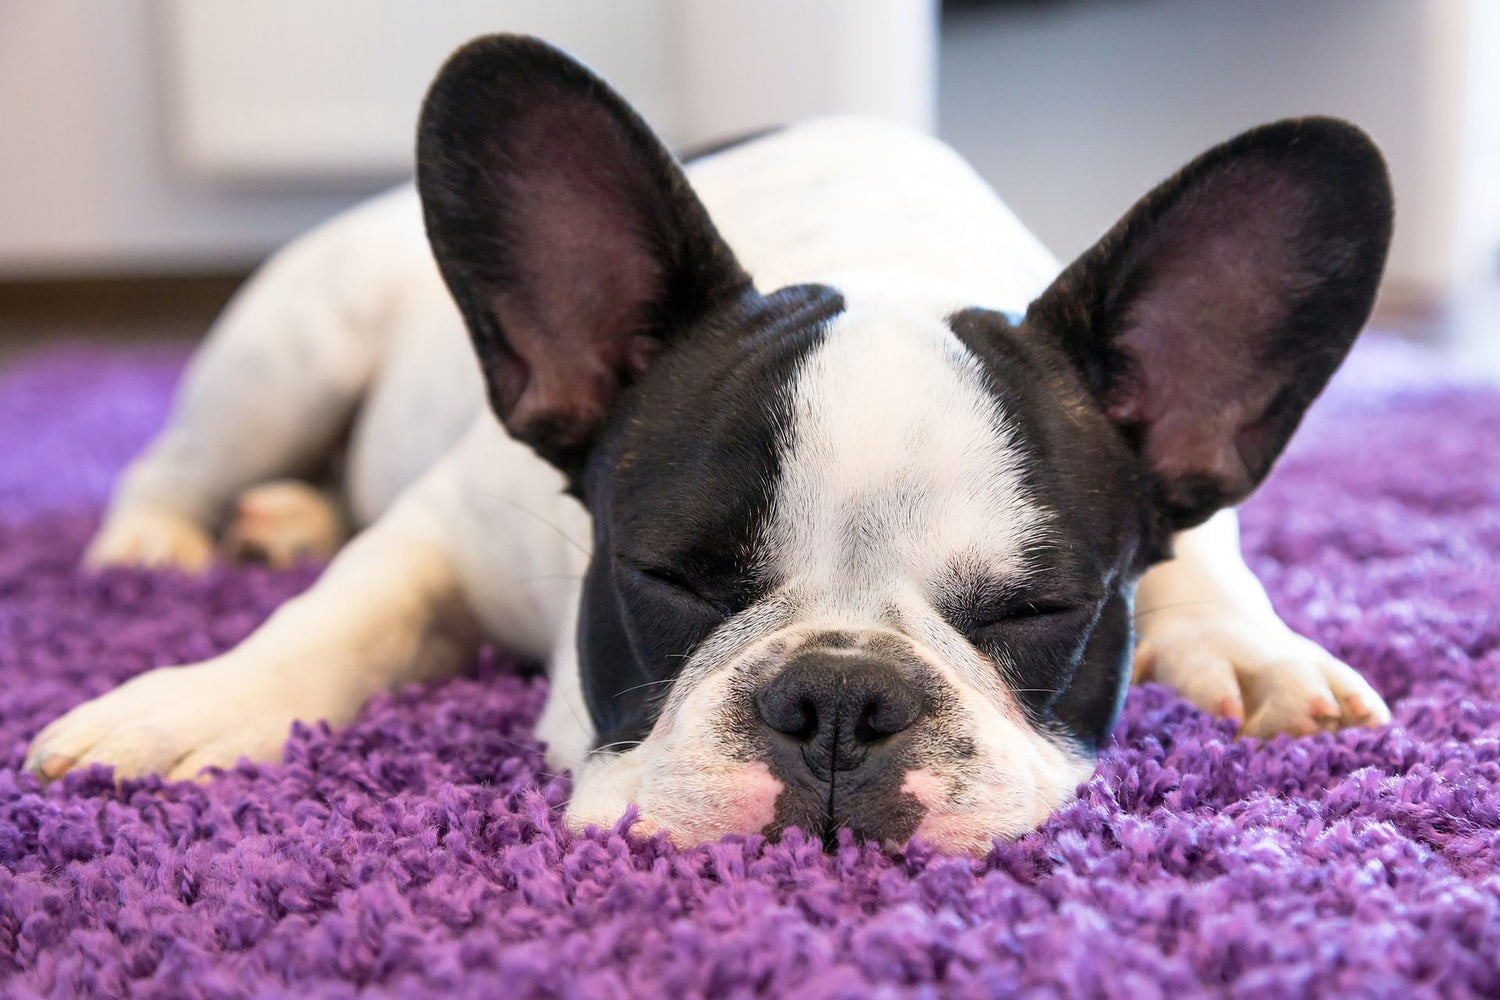
Recognizing the signs that your dog’s ears require cleaning is key to maintaining their ear health. Several subtle indicators can alert you to when it's time to check their ears. One common sign is excessive head shaking. While it's normal for dogs to shake their heads occasionally, especially after waking up or coming indoors, frequent head shaking can suggest ear discomfort due to irritation or inflammation.
Another signal is if your dog persistently scratches their ears or rubs their head against furniture or the floor, indicating itchiness. A noticeable, unpleasant odor emanating from the ears often accompanies dirt or infection. Visually inspecting your dog’s ears can also provide clues; healthy ears should appear light pink and be free of excess wax, dirt, or debris. Conversely, redness, black or brown waxy buildup, or any yellowish discharge are all signs of possible infection and should prompt a visit to the vet.
Essential Supplies for Cleaning Your Dog's Ears
For cleaning your dog's ears, the right tools and products are crucial:
- Ear Wax Removal : Select a vet-recommended ear cleaner that effectively dissolves wax and debris. Avoid using hydrogen peroxide or alcohol as these can irritate the ear canal.
- Cleaning Implements: Use gauze squares or ear wipes for cleaning. Avoid cotton-tipped applicators inside the ear canal, as they can damage the eardrum or become lodged.
- Towel: Helpful for wiping up after your dog inevitably shakes their head post-cleaning.
- Distractions: Treats or a smear of peanut butter on a flat surface can keep your dog occupied and make the cleaning process more enjoyable for them.

Steps for Cleaning Your Dog’s Ears
- Preparation: Have your dog sit comfortably near you. If necessary, someone else can help by gently holding your dog and providing distractions.
- Application: Gently lift the ear pinna (the floppy part of the ear) and carefully apply the cleaning solution into the ear canal. Avoid direct contact between the bottle tip and the ear to prevent contamination.
- Massage: After filling the ear with cleaner, gently massage the base of the ear for about thirty seconds. This helps the solution work its way through the ear and loosen debris.
- Wiping Out Debris: Use a gauze square or cotton ball to wipe out the ear, removing any loosened wax and debris. Allow your dog to shake its head to help move deeper debris outward.
- Repeat: Clean the other ear following the same steps, ensuring both ears are properly attended to.
If your dog shows signs of pain or distress during the cleaning, halt the procedure and try again later when they’re more relaxed. Persistent discomfort might indicate an underlying issue, such as an infection or even a ruptured eardrum, which requires immediate veterinary attention. Regularly cleaning your do
Leave a comment
This site is protected by hCaptcha and the hCaptcha Privacy Policy and Terms of Service apply.